


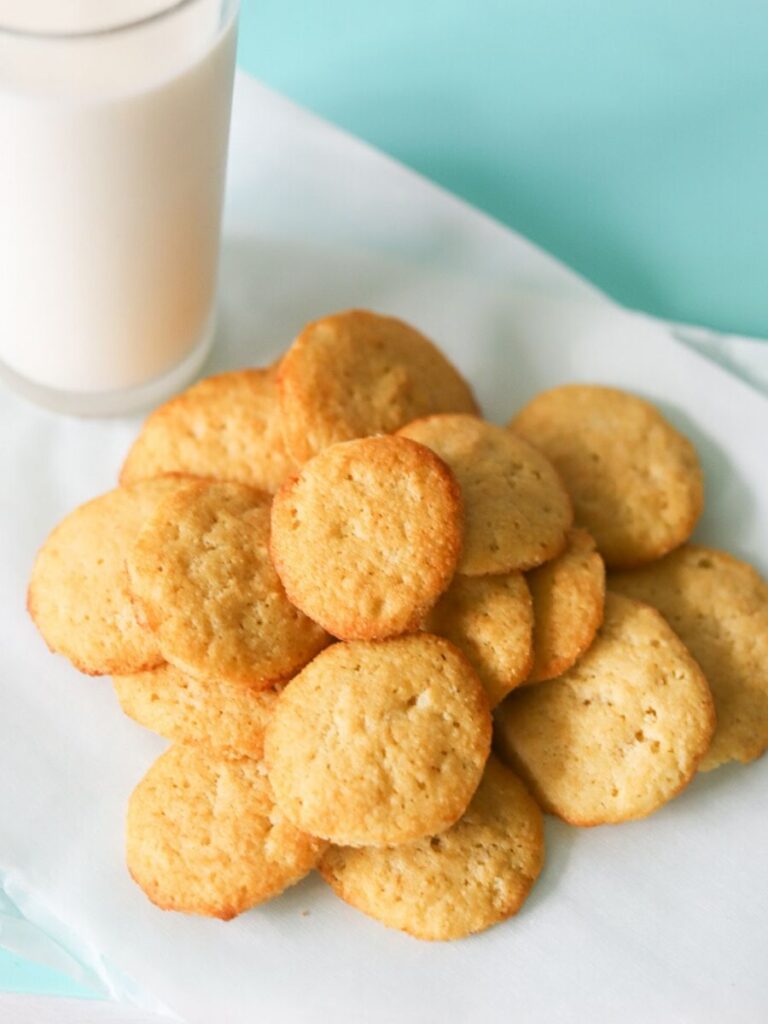
These homemade Gluten-Free Vanilla Wafers are so simple to whip up and will instantly remind you of your childhood with their classic flavor. They can also easily be made low carb and keto-friendly as well!
This Mom's Menu is a participant in the Amazon Services LLC Associates Program, an affiliate advertising program designed to provide a means for sites to earn advertising fees by advertising and linking to amazon.com. This post may be sponsored or contain affiliate links but all opinions are my own. I may earn money from purchases made through the links shared here (at no additional cost to you)
Vanilla wafers are one of the quintessential childhood snacks and now you can make a gluten-free version that is just as delicious as the original.
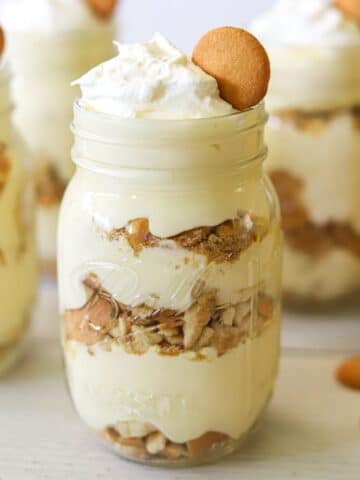
These cookies are great all on their own, dipped in chocolate, smeared with peanut butter, or used any way that you would use a traditional vanilla wafer! (Psst - Be sure to check out my recipe for Keto Banana Pudding - It's also gluten-free!)

Here's what you'll need to make these gluten-free vanilla wafers:
Butter - I haven't tried with any substitutes, but coconut oil should work but will alter the taste.
Vanilla
Egg
Almond Flour - I have tried substituting coconut flour but it never quite works out so I recommend sticking with almond flour for this recipe
Baking Powder
Powdered Sweetener - You can use powdered sugar or a powdered sugar substitute for keto (I used powdered lakanto monk fruit sweetener!)
Right now you can get 10% off of all Lakanto products with the code "THISMOMSMENU" when you order from the Lakanto Website!
I also recommend using either parchment paper or a silicone baking mat to ensure that these cookies don't stick when baking, as well as a piping bag or plastic sandwich bag for piping the batter into circles (you don't need tips for your piping bag for this recipe!)
Tips for making these cookies:
Make sure that the butter is very soft, but not quite melted.
I recommend using high-quality vanilla for this recipe since it provides almost all of the flavor.
Try to pipe these cookies into circles that are about 1.5" in diameter. They won't spread much, but if they are too large they will not bake evenly.
Keep a close eye on the vanilla wafers as they bake. They can go from done to burnt very quickly and ovens often vary quite a bit. You want to remove them as soon as they begin browning around the edges.
The cookies will be very soft when they are removed from the oven. Allow them to cool in room air and they will become crisp as they cool.
You can store these in a sealed container for a couple of weeks or pop them in the freezer for several months.
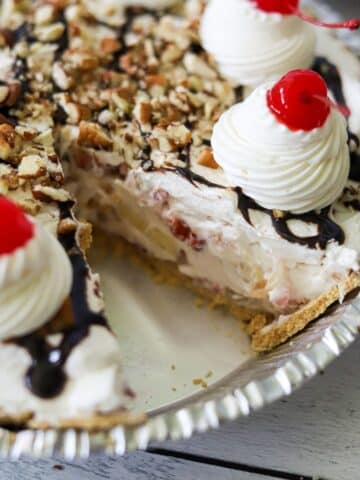
Be sure to check out these other great recipes:
- Keto Banana Pudding | Gluten Free
- Keto Milano Cookies | Gluten Free
- Soft and Chewy Chocolate Chip Cookies | Low Carb, Gluten-Free
- Keto Wedding Cookies
- Keto Pumpkin Snickerdoodles
📖 Recipe

Gluten Free Vanilla Wafers | Low Carb
Equipment
- Parchment Paper
Ingredients
- 2 tablespoon Butter softened
- 1 teaspoon Vanilla Extract
- 1 Egg
- ½ cup Almond Flour
- 1 teaspoon Baking Powder
- ¼ cup Powdered Sweetener
Instructions
- Preheat the oven to 350 degrees F and line a baking sheet with parchment paper or use a silicone baking mat.
- In a large bowl, combine the butter, vanilla, and egg with an electric mixer. Next, add in the Erythritol, Almond flour and baking powder and mix well.
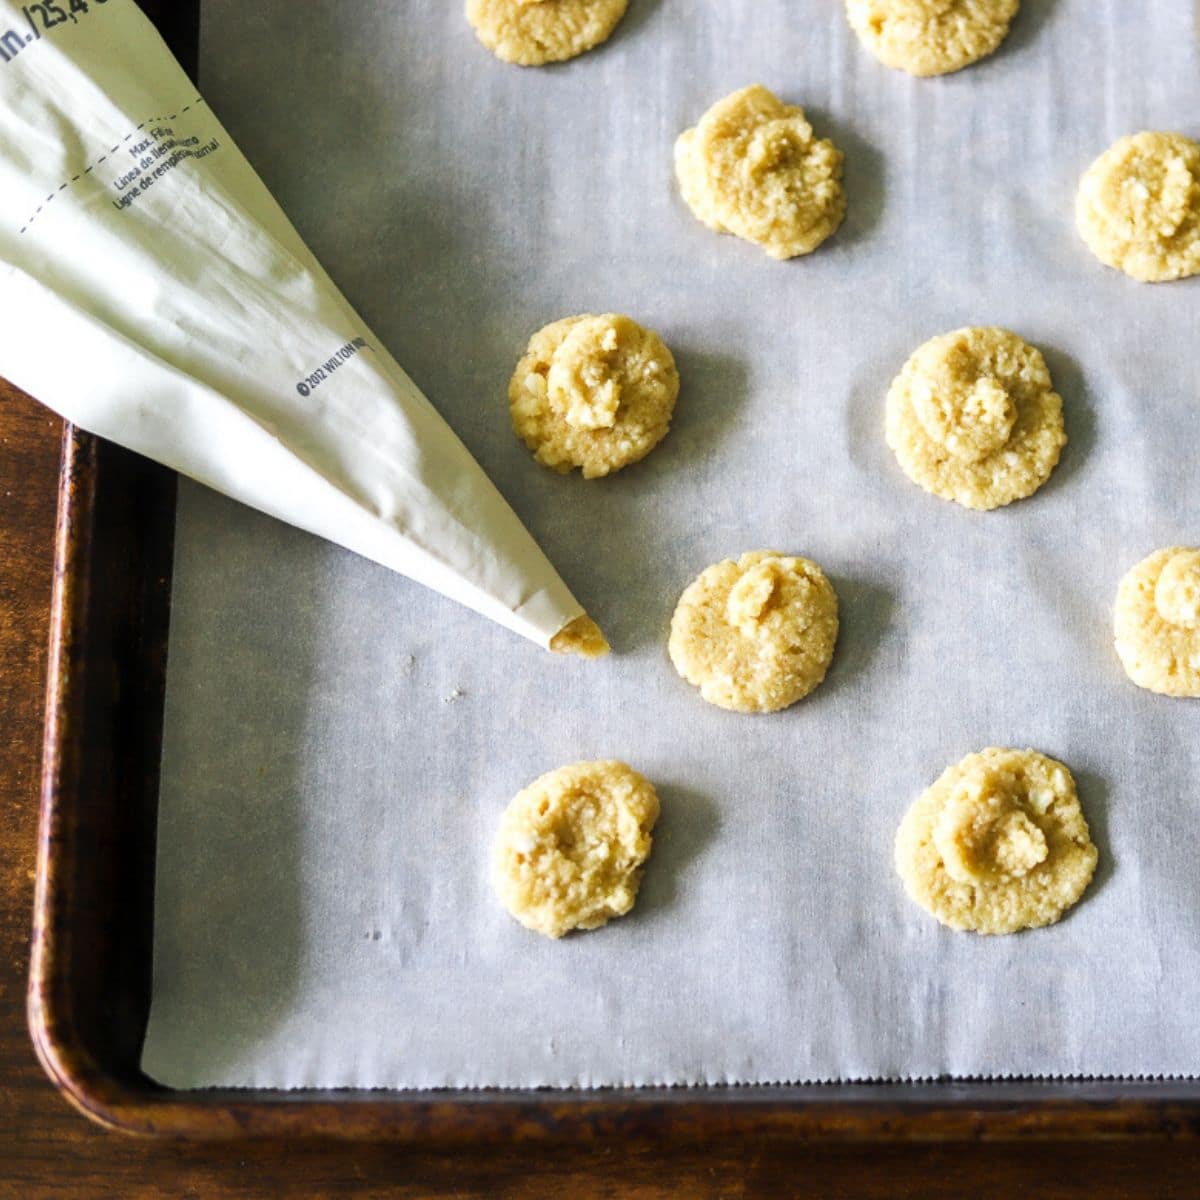
- Once the mixture is well combined, spoon the mixture into a piping bag, or a large plastic zip bag.
- Pipe the dough into round circles onto the parchment lined baking sheet. To do this, simply place the tip of the piping bag onto the parchment and gently squeeze the bag until about 1 tablespoon of the dough has come out of the bag.
- Repeat with the remaining dough, leaving about ½” between each of the wafers.
- Transfer to the oven and bake for 12-15 minutes. Remove from the oven and allow to cool.
- The vanilla wafers will initially be soft, but as they sit they will crisp up nicely.
- Store them in a sealed container at room temp.
Be sure to read the entire post for tips, tricks, and help troubleshooting.
The nutrition information listed here is only an estimate and is simply provided as a courtesy. It nor any other information within this post should constitute medical or nutritional advice. Be sure to read all packaging and ingredient labels for potential allergens. Optional ingredients are not included unless otherwise specified.

Karl says
Spaced according to directions but they merged into one. Started to brown but never firmed up or got crisped.
Sabra says
Hi Karl, so sorry that you had trouble with this recipe. It may be helpful to chill the dough before baking if you are having trouble with the dough spreading too much. Also, as mentioned in the recipe card, the wafers will not be crisp initially after baking but will crisp as they cool at room temp.
Hope that helps!
annabel says
fab...did spread, but I just cut them into smaller squares.